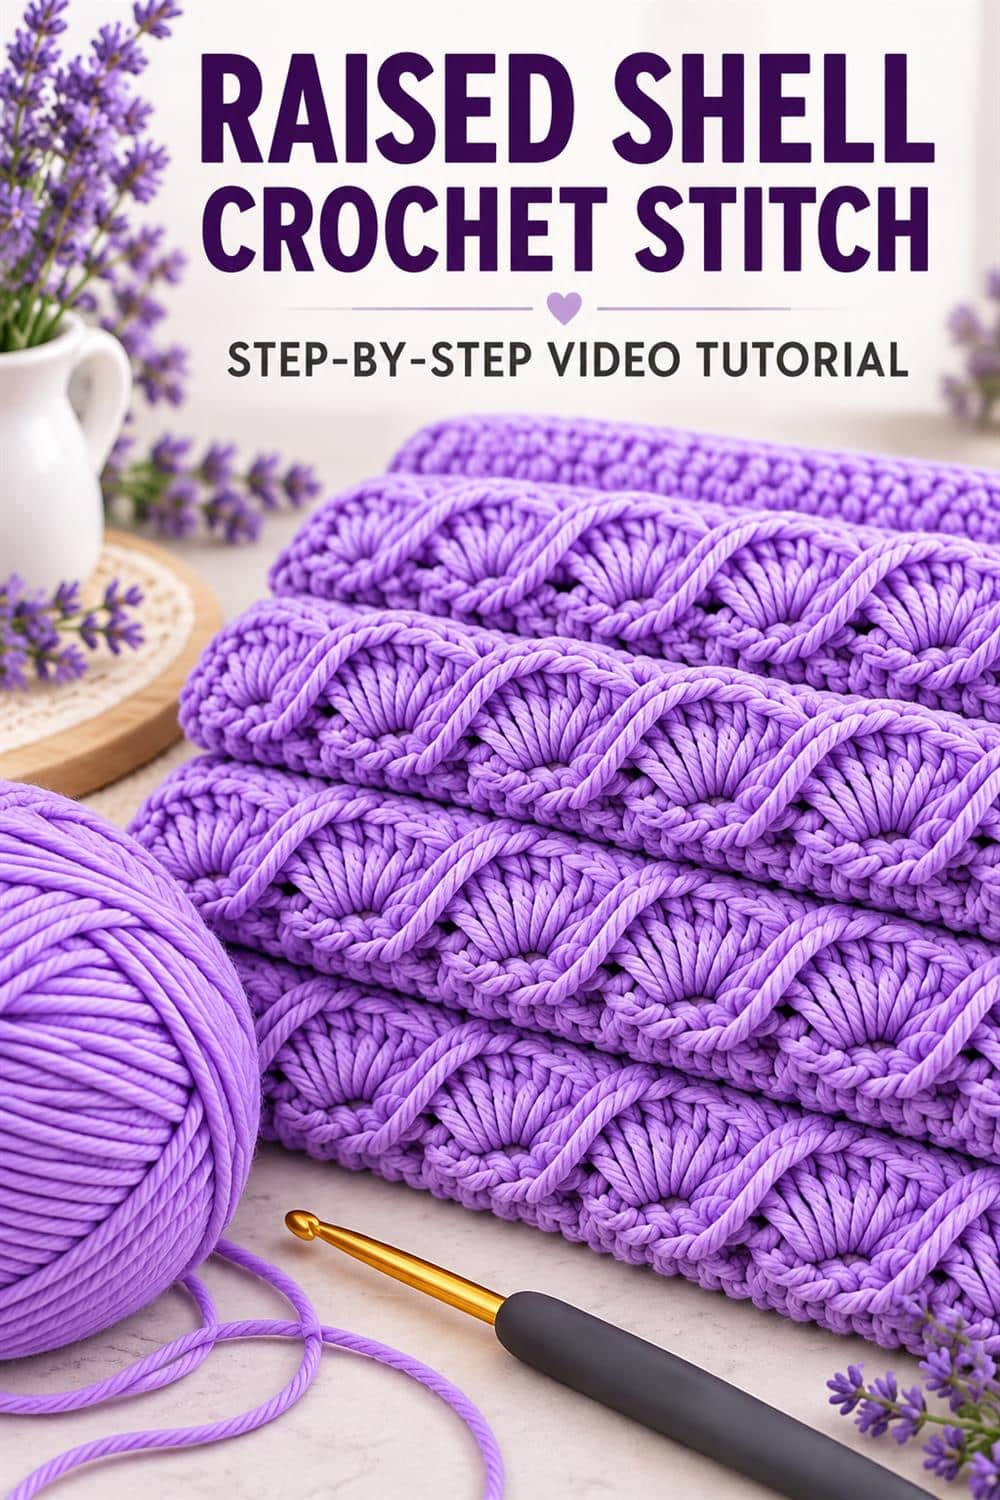
Create an elegant dimensional fabric with this raised shell crochet stitch video tutorial. Repeated fan-shaped clusters sit beneath sweeping overlay strands, producing a richly textured pattern that looks beautiful in a solid color. Lavender-purple yarn highlights the shadows and curves, making the stitch especially attractive for blankets, scarves, cushion covers, bags and decorative panels.
Raised Shell Crochet Stitch Video Tutorial
Use the embedded video to study the foundation, shell placement and long overlay movements. Watch one complete repeat before crocheting along, then pause at each cluster until the yarn-over count and loop height feel comfortable. The close demonstration is particularly useful when learning where each sweeping strand is anchored.
Materials and Supplies
- Smooth yarn in a solid or gently tonal color
- A crochet hook suitable for the yarn weight
- Stitch markers for the first and last repeats
- Scissors and a yarn needle
- Measuring tape for gauge and project planning
A smooth cotton, acrylic or blended yarn gives the raised shells clear definition. Avoid overly fuzzy fibers when learning because they can hide the insertion points. Choose a hook that lets the clustered stitches move freely without making the base fabric loose.
How the Textured Shell Pattern Is Built
1. Prepare the correct foundation
Follow the repeat multiple demonstrated in the video and add any required edge stitches. Keep the starting chain relaxed so the lower edge does not pull inward. Mark both edges to prevent accidental stitch loss.
2. Crochet the fan-shaped shell clusters
Work several tall stitches into the same base space to create each fan. Keep the posts parallel and evenly tensioned so every shell opens to the same width. Count the spaces between clusters before moving to the next repeat.
3. Form the sweeping overlay strands
Draw the elongated strand across the front of the fan and anchor it where shown. Match the length of every overlay so the curves remain consistent. A strand that is too tight will compress the shell, while one that is too loose may snag during use.
4. Align the following rows
Use the visible centers and spaces from the previous row as guides. Check that each new shell sits directly in the intended position and that the overlay curves repeat at a steady angle. Count the completed shells at the end of each row.
Projects for the Raised Shell Stitch
This texture makes a striking baby blanket, lap throw, bed runner or cushion front. It can also become the decorative section of a scarf, tote bag, cardigan or sweater. For garments, use the stitch as a featured panel and combine it with flatter crochet around areas that need flexibility.
Solid colors emphasize the relief pattern most clearly. Lavender creates a soft romantic look, cream feels timeless, jewel tones add drama and muted neutrals suit modern interiors. Gentle gradient yarn can add depth, provided the color changes are slow enough to keep the shells visible.
Tips for a Professional Finish
- Make a full pattern-repeat swatch before starting a large project.
- Keep shell posts even and avoid tightening the final loop.
- Measure each elongated overlay against the previous one.
- Use markers to protect the side edges.
- Count shells and spaces after every row.
- Block gently to settle the fabric without flattening the texture.
Frequently Asked Questions
Is the raised shell stitch suitable for beginners?
A confident beginner who knows basic tall stitches can learn the pattern slowly. The overlay step requires attention, but the video makes the hook placement and repeat easier to follow.
Why are my shells different sizes?
Uneven shell size usually comes from changing tension or missing a stitch within the cluster. Count every yarn-over and keep all tall loops at a consistent height.
Can I use bulky yarn?
Yes, but the fabric will become thicker and the relief more dramatic. Make a swatch with a compatible hook and check the drape before choosing it for a blanket or wearable.
Does this stitch need blocking?
Gentle blocking helps the repeats settle and opens the fan shapes. Avoid pressing or stretching aggressively because the raised strands should remain dimensional.
Save the vertical image, choose a yarn that shows shadows clearly and follow the tutorial to add elegant raised shell texture to your next crochet project.